この記事を読んで分かること
- TFRecordファイルにNumpy形式で保存されたデータを読み込む方法
TFRecordデータの読み込み方法
TFRecordのデータを読み込むには、「TFrecordファイルの読み込み」→「データの復元」→「Numpy配列の復元」のフローで進めます。
こちらの記事で作成したNumpyデータの保存されたTFRecordファイルを読み込んでいきます。

【Tensorflow2】numpy配列をTFRecord形式に書き込む方法
この記事を読んで分かること numpy配列のデータをTFRecordファイルに書き込む方法 TFRecordを作る TFRecordを作るには、「データの整形(numpy)」→「tf.train.Exa...
TFrecordファイルの読み込み
tf.data.TFRecordDatasetを使用して、TFRecordファイルを読み込みます。
import tensorflow as tf

raw_dataset = tf.data.TFRecordDataset('cat_dog_numpy.tfrecords')
raw_dataset
実行結果(クリックして表示)
<TFRecordDatasetV2 element_spec=TensorSpec(shape=(), dtype=tf.string, name=None)>
TFRecordDatasetから1件取り出して、中身を確認してみます。
for raw_record in raw_dataset.take(1):
    print(repr(raw_record))
実行結果(クリックして表示)
<tf.Tensor: shape=(), dtype=string, numpy=b'\n\xaa\xa4(\n\x0f\n\x05width\x12\x06・・・
シリアル化されたテンソルが格納されていることが分かりました。
データの復元
tf.io.parse_single_example関数を使って、シリアル化されたデータをもとの形に復元していきます。
このとき、TFrecordを書き込んだ形状の情報(feature_description)が必要となります。
feature_description = {
    'height': tf.io.FixedLenFeature([], tf.int64),
    'width': tf.io.FixedLenFeature([], tf.int64),
    'depth': tf.io.FixedLenFeature([], tf.int64),
    'label': tf.io.FixedLenFeature([], tf.string),
    'image': tf.io.FixedLenFeature([], tf.string),
}

def _parse_image_function(example_proto):
    return tf.io.parse_single_example(example_proto, feature_description)
tf.data.Dataset.mapメソッドを使って、データセットの各項目に_parse_image_function関数を適用することで、データをパースします。
parsed_image_dataset = raw_dataset.map(_parse_image_function)
parsed_image_dataset
実行結果(クリックして表示)
<MapDataset element_spec={'depth': TensorSpec(shape=(), dtype=tf.int64, name=None), 'height': TensorSpec(shape=(), dtype=tf.int64, name=None), 'image': TensorSpec(shape=(), dtype=tf.string, name=None), 'label': TensorSpec(shape=(), dtype=tf.string, name=None), 'width': TensorSpec(shape=(), dtype=tf.int64, name=None)}>
パースしたデータ群であるparsed_image_datasetから1件取り出して、中身を確認してみます。
for parsed_record in parsed_image_dataset.take(1):
  print(repr(parsed_record))
実行結果(クリックして表示)
{'depth': <tf.Tensor: shape=(), dtype=int64, numpy=3>, 'height': <tf.Tensor: shape=(), dtype=int64, numpy=1300>, 'image': <tf.Tensor: shape=(), dtype=string, numpy=b'\xff\xd8\xff\xe0\x00\x10JFIF\x00\x01\x01\x00\x00\x01\x00\x01\x00\x00\xff\xdb\x00C\x00\x03\x02\x02\x02\x02\x02\x03\x02\x02\x02\x03\x03\x03\x03\x04\x06\x04\x04\x04\x04\x04\x08\x06\x06\x05\x06\t\x08\n\n\t\x08\t\t\n\x0c\x0f\x0c\n\x0b\x0e\x0b\t\t\r\x11\r\x0e\x0f\x10\x10\x11\x10\n\x0c\x12\x13\x12\x10\x13\x0f\x10\x10\x10\xff\xdb\x00C\x01\x03\x03\x03\x04\x03\x04\x08\x04\x04\x08\x10\x0b\t\x0b\x10\x10\x10\x10\x10\x10\x10\x10\x10\x10\x10\x10\x10\x10\x10\x10\x10\x10\x10\x10\x10\x10\x10\x10\x10\x10\x10\x10\x10\x10\x10\x10\x10\x10\x10\x10\x10\x10\x10\x10\x10\x10\x10\x10\x10\x10\x10\x10\x10\x10\xff\xc0\x00\x11\x08\x05\x14\x07\x80\x03\x01"\x00\x02\x11\x01\x03\x11\x01\xff\xc4\x00\x1e\x00\x00\x01\x05\x01\x01\x01\x01\x01\x00\x00\x00\x00\x00\x00\x00\x00\x04\x02\x03\x05\x06\x07\x01\x08\x00\t\n\xff\xc4\x00Q\x10\x00\x01\x03\x03\x03\x02\x03\x06\x04\x05\x03\x03\x03\x00\x00\x17\x01\x02\x03\x11\x00\x04!\x05\x121\x06A"Qa\x07\x13q\x81\x91\xf0\x142\xa1\xb1\x08B\xc1\xd1\xe1\x15#\xf13Rb\x16$rC\x82\x17%Sc\x924\xa2\t\x18Ds\x83\xb2&5T\xc2Et\xa3\xf2\xff\xc4\x00\x1d\x01\x00\x02\x03\x01\x01\x01\x01\x01\x00\x00\x00\x00\x00\x00\x00\x00\x02\x03\x01\x04\x05\x00\x06\x07\x08\t\xff\xc4\x00@\x11\x00\x01\x04\x01\x03\x02\x04\x03\x07\x03\x04\x02\x02\x02\x00\x07\x01\x00\x02\x03\x11!\x04\x121\x05A\x13"Qa\x06q\x81\x142\x91\xa1\xb1\xc1\xf0#\xd1\xe1\x073B\xf1\x15R$r4bC\x08\x16\x82\x92\xb2%\xff\xda\x00\x0c\x03\x01\x00\x02\x11\x03\x11\x00?\x00\xcf\x1c\xb8qf\t\x8c\x90@\x1c\x7fzh(\xae\x0e\xe2\xa2~\xa4\xd3KT\xe4\xa7h\x074\xa6\xc8\x07\x07\x8cA\x1fO\xbfJ\xf8\xe9qw+\x00\x1c\xe1:\xd9;\xa2\'9 \x9f\xacS\xa8\x82 \x85qM\r\xc5`\xcf<\x83\x1c}\xff\x00Ju\x1b\xa3\xc3\x11\x811\x8a\r\xc3\x84e8\x94\x93\x85s\xebN\xa4J\xb0`\xcf\xca\x90 &R$\x11\x18\xa7\xa0\x8f・・・
ちゃんとパースされたレコードが入っていることが確認できました。
1つ目のデータを取り出しておきます。
examples = parsed_image_dataset.take(1)
example = next(iter(examples))

print(example["label"])
print(example["height"])
print(example["width"])
print(example["depth"])
実行結果(クリックして表示)
tf.Tensor(b'\x01\x00\x00\x00\x00\x00\x00\x00', shape=(), dtype=string)
tf.Tensor(1300, shape=(), dtype=int64)
tf.Tensor(1920, shape=(), dtype=int64)
tf.Tensor(3, shape=(), dtype=int64)
Numpy配列の復元
まずは、画像データをデコードします。
画像データをデコードします。

image = tf.io.decode_raw(example["image"], tf.float32)
image.shape
TFRecordに保存すると次元の情報はなくなり、1次元の配列として保存されます。
予め記録しておいた画像の縦、横、チャネル数の情報を元に、配列を正しい形に直します。
image = tf.reshape(tf.io.decode_raw(example["image"], tf.float32), (1300, 1920, 3))
image.shape
実行結果(クリックして表示)
TensorShape([1300, 1920, 3])
最後にtf.Tensor形式からnumpyに直します。
image_numpy = image.numpy()
print(image_numpy)
image_numpy.shape
実行結果(クリックして表示)
Output exceeds the size limit. Open the full output data in a text editor
[[[0.36078432 0.5058824  0.20392157]
  [0.3529412  0.49803922 0.19607843]
  [0.3529412  0.49803922 0.19215687]
  ...
  [0.60784316 0.67058825 0.5176471 ]
  [0.60784316 0.6666667  0.5137255 ]
  [0.60784316 0.6666667  0.5137255 ]]

 [[0.36078432 0.5058824  0.20392157]
  [0.36078432 0.5058824  0.2       ]
  [0.3647059  0.50980395 0.20392157]
  ...
  [0.6117647  0.6745098  0.52156866]
  [0.61960787 0.6784314  0.5254902 ]
  [0.61960787 0.6784314  0.5254902 ]]

 [[0.37254903 0.5058824  0.20392157]
  [0.3529412  0.4862745  0.18431373]
  [0.34117648 0.4862745  0.18039216]
  ...
  [0.6117647  0.6745098  0.52156866]
  [0.61960787 0.68235296 0.5294118 ]
  [0.61960787 0.68235296 0.5294118 ]]

 ...
...
  ...
  [0.4392157  0.5882353  0.42745098]
  [0.48235294 0.6431373  0.47058824]
  [0.50980395 0.6784314  0.5019608 ]]]
(1300, 1920, 3)
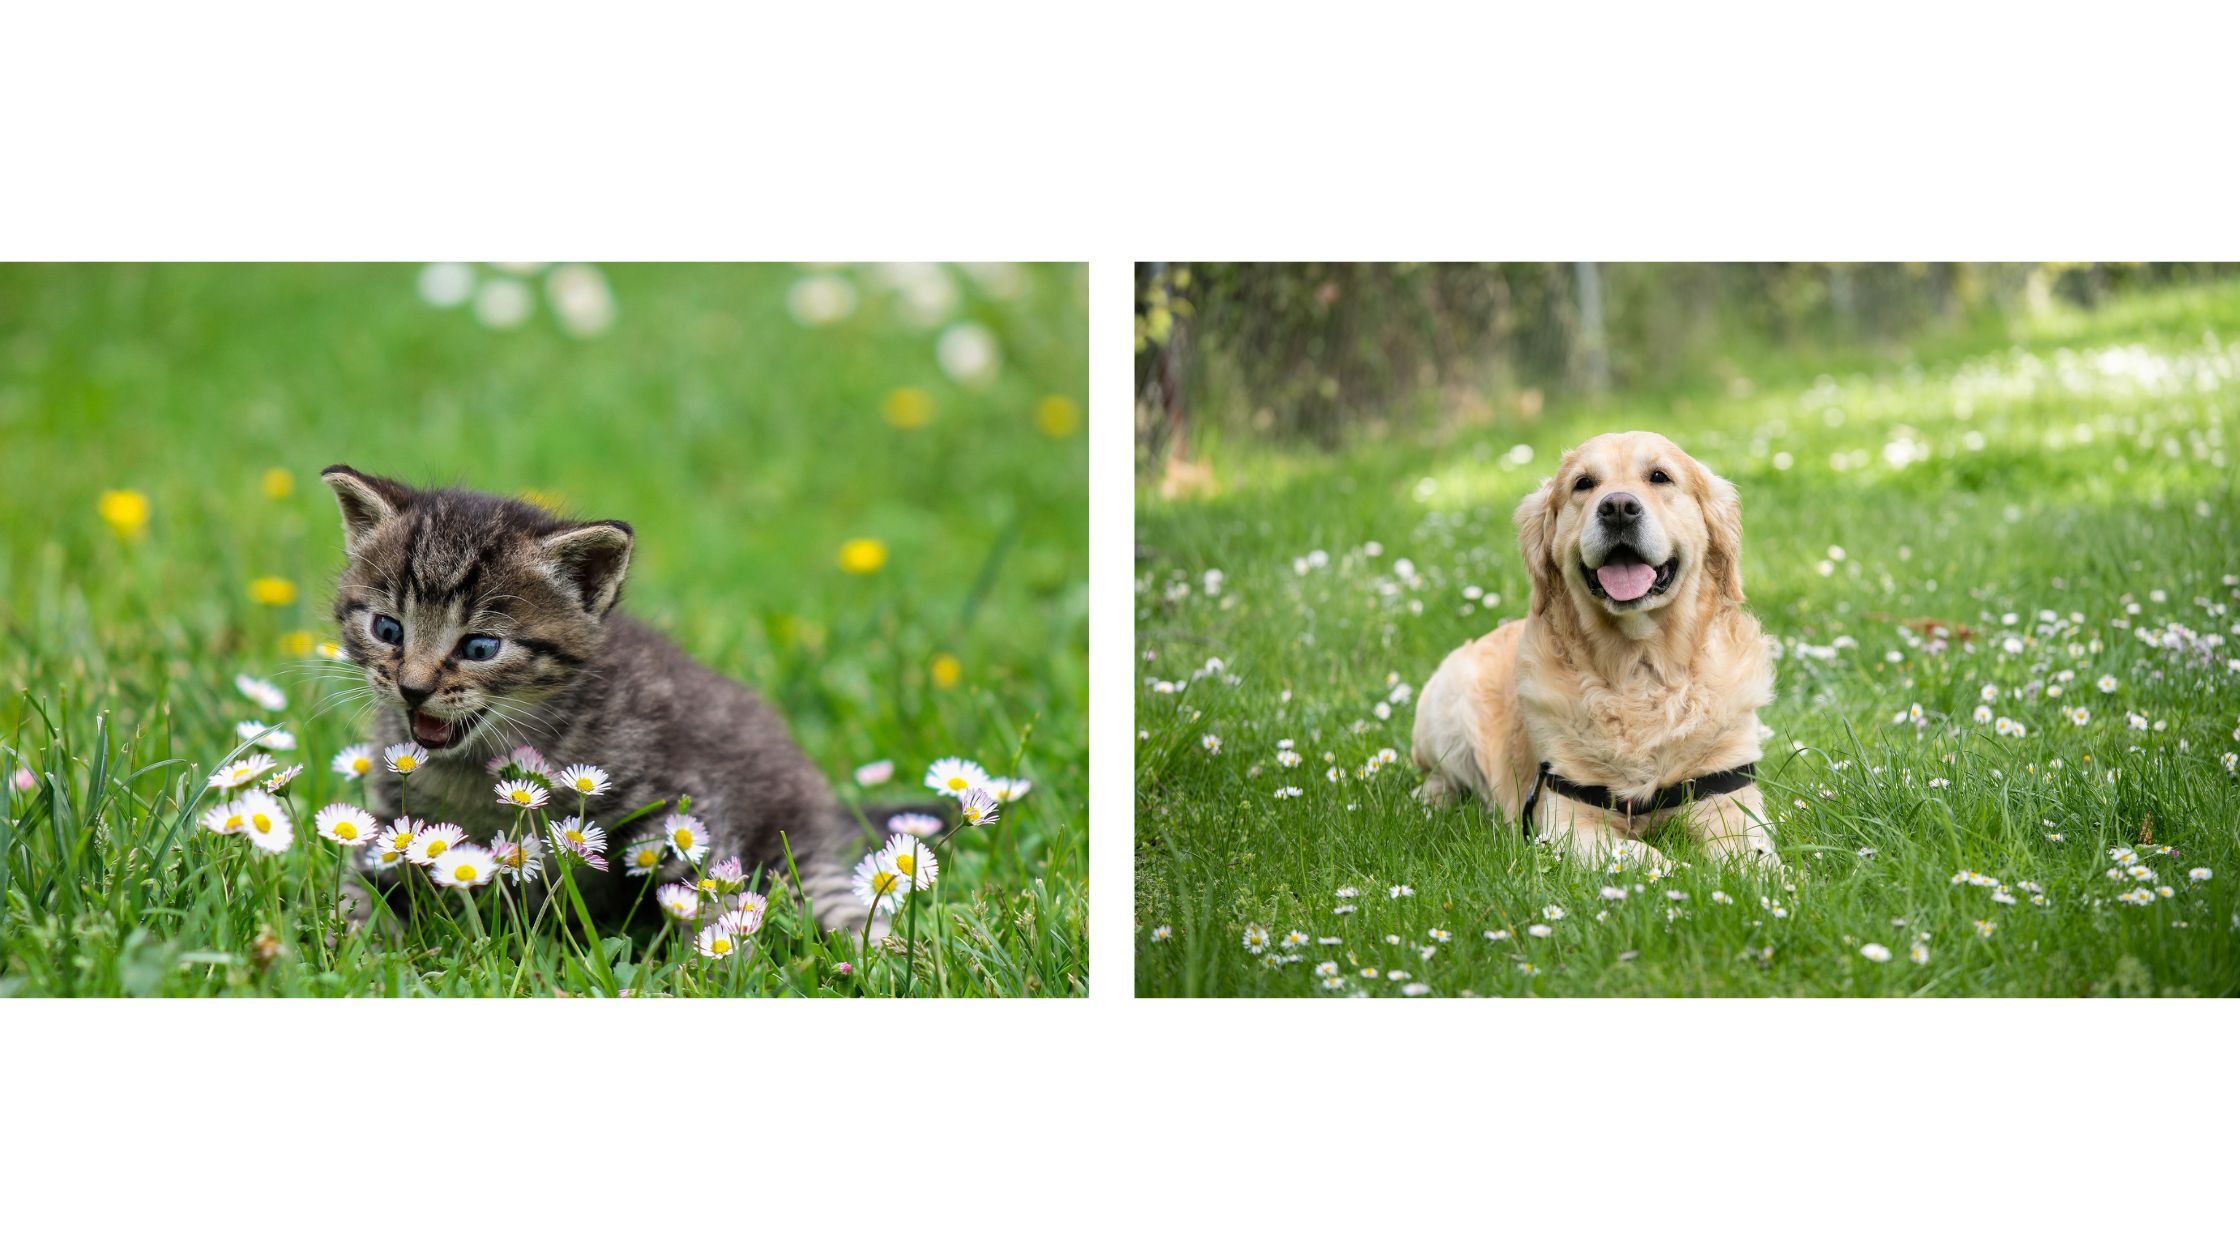
取り出したnumpyデータのを描画してみましょう。
from matplotlib import pylab as plt
%matplotlib inline

plt.imshow(image)
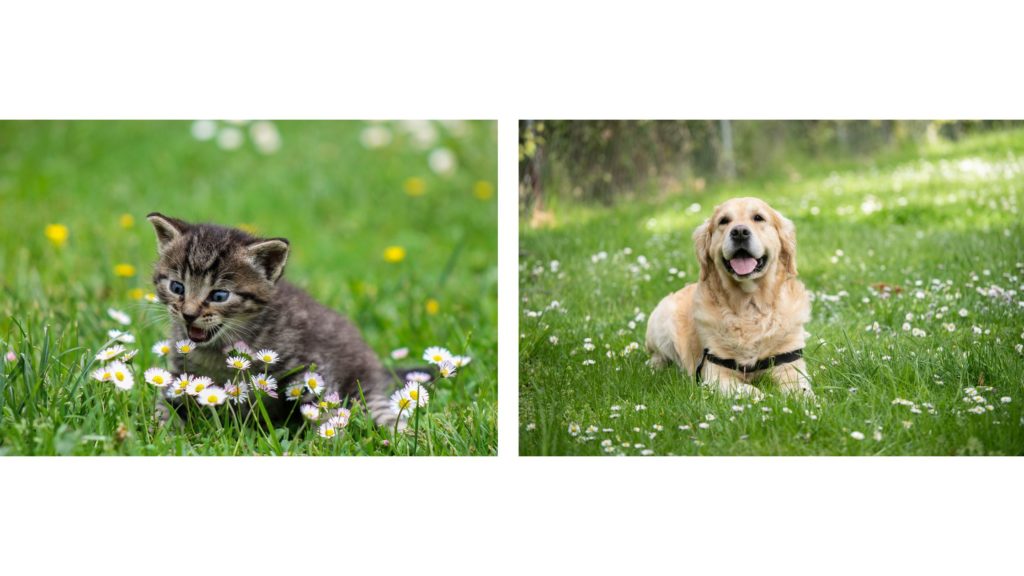
1番目のデータはネコの画像が確認でき、同様に2番めのデータを処理すると犬が格納されていることが確認できました。
まとめ
TFRecordファイルからデータを取り出してみました。
データを読み込むには、TFrecordファイルの読み込み」→「データの復元」→「Numpy配列の復元」のフローで進めます。
TFRecordに前処理済のnumpyを格納して扱えるので、機械学習モデルをいくつも作る際に非常に便利です。
参考文献
公式チュートリアル


コメント