


- numpy配列のデータをTFRecordファイルに書き込む方法
TFRecordを作る
TFRecordを作るには、「データの整形(numpy)」→「tf.train.Exampleに変換」→「TFRecordファイルに書き込み」の順に行っていきます。
featureなど、TFRecordの構造についてはこちらの記事で解説しています。
ここでは、画像データをnumpy配列に変換して、TFRecordファイルを作成していきます。
データの整形(numpy)
画像データ(ネコと犬の写真)をnumpy配列に変換していきます。
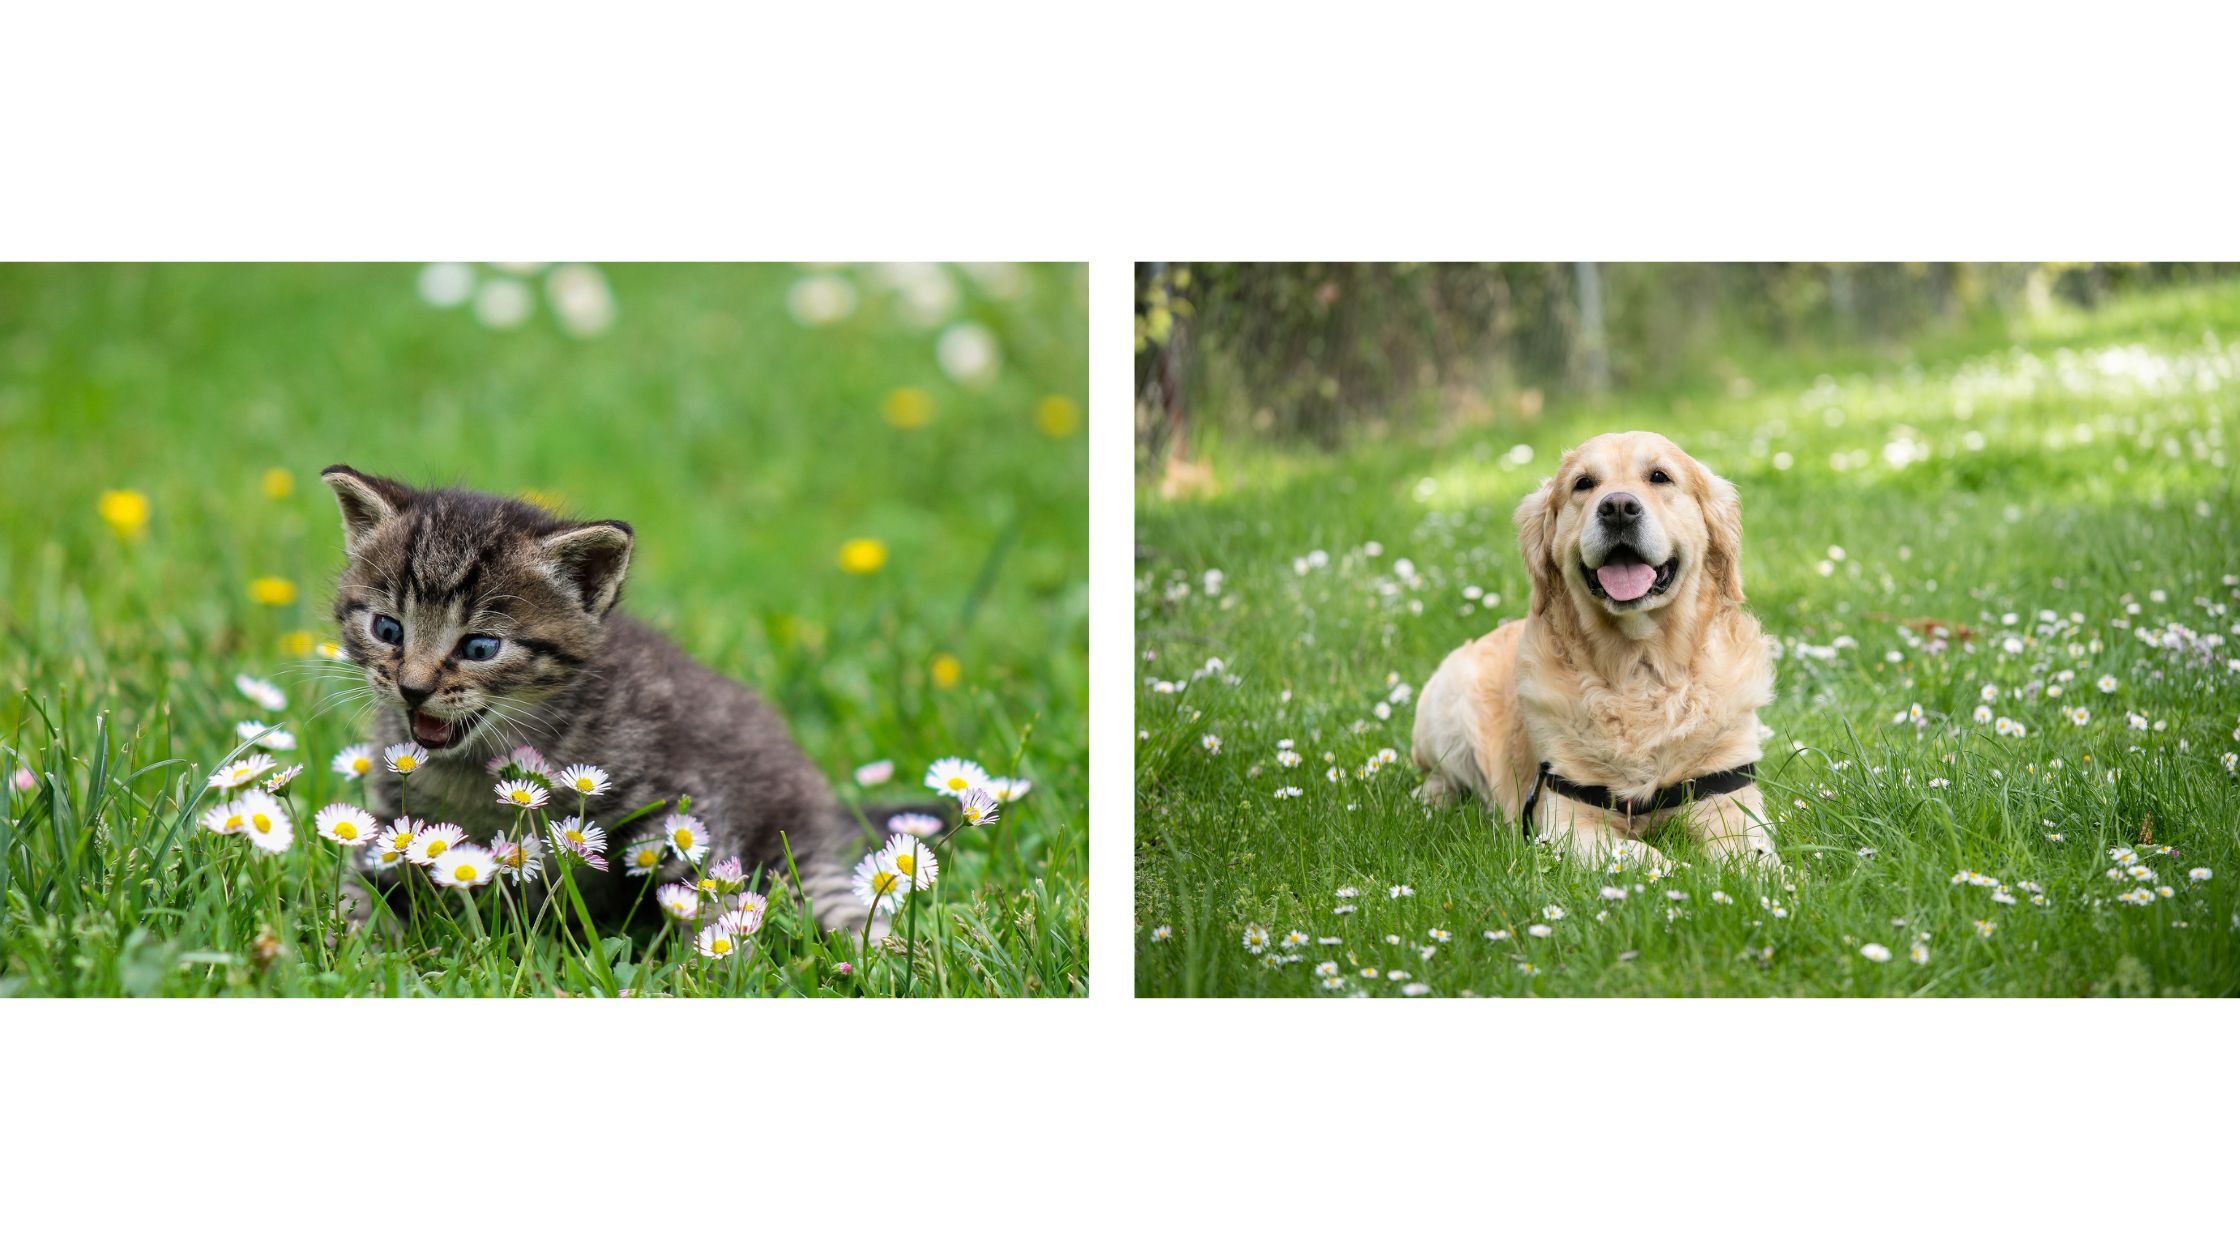
open関数で画像の内容を確認していきます。
import tensorflow as tf
import numpy as np
from skimage import io, exposure

cat_image = io.imread("cat.jpg")
print(type(cat_image))
print(cat_image.shape)
print(cat_image)
データを標準化しておきます。
cat_image_standard = (cat_image/255).astype(np.float32)
print(type(cat_image_standard))
print(cat_image_standard.shape)
print(cat_image_standard)<class 'numpy.ndarray'>
(1300, 1920, 3)
[[[0.36078432 0.5058824 0.20392157]
[0.3529412 0.49803922 0.19607843]
[0.3529412 0.49803922 0.19215687]
...
[0.60784316 0.67058825 0.5176471 ]
[0.60784316 0.6666667 0.5137255 ]
[0.60784316 0.6666667 0.5137255 ]]
[[0.36078432 0.5058824 0.20392157]
[0.36078432 0.5058824 0.2 ]
[0.3647059 0.50980395 0.20392157]
...
[0.6117647 0.6745098 0.52156866]
[0.61960787 0.6784314 0.5254902 ]
[0.61960787 0.6784314 0.5254902 ]]
[[0.37254903 0.5058824 0.20392157]
[0.3529412 0.4862745 0.18431373]
[0.34117648 0.4862745 0.18039216]
...
[0.6117647 0.6745098 0.52156866]
[0.61960787 0.68235296 0.5294118 ]
[0.61960787 0.68235296 0.5294118 ]]
...
[[0.54901963 0.6901961 0.5176471 ]
[0.5411765 0.68235296 0.50980395]
[0.54509807 0.6745098 0.5058824 ]
...
[0.44313726 0.5921569 0.43137255]
[0.4745098 0.63529414 0.4627451 ]
[0.49803922 0.6666667 0.49019608]]
[[0.5372549 0.6784314 0.5058824 ]
[0.53333336 0.6745098 0.5019608 ]
[0.5372549 0.6666667 0.49803922]
...
[0.44313726 0.5921569 0.43137255]
[0.48235294 0.6431373 0.47058824]
[0.50980395 0.6784314 0.5019608 ]]
[[0.5372549 0.6784314 0.5058824 ]
[0.53333336 0.6745098 0.5019608 ]
[0.5372549 0.6666667 0.49803922]
...
[0.4392157 0.5882353 0.42745098]
[0.48235294 0.6431373 0.47058824]
[0.50980395 0.6784314 0.5019608 ]]]
続いてラベル情報もnumpy配列に変換しておきます。
ここではラベルは(ネコ:0、犬:1)として、onehot形式で設定しています。
cat_label = 0
cat_label_numpy = np.array([cat_label]).astype(np.uint8)
cat_label_numpy_onehot = np.eye(2).astype(np.int32)[cat_label_numpy]

print(type(cat_label_numpy_onehot))
print(cat_label_numpy_onehot)
画像のサイズとチャネル数も変数に格納しておきます。
cat_image_shape = tf.io.decode_jpeg(cat_image_string).shape
cat_image_shape
犬の画像でも同様の処理をして、データの整形は完了です。
dog_image_string = open("dog.jpg", 'rb').read()
dog_label = 1
dog_image_shape = tf.io.decode_jpeg(dog_image_string).shape
tf.train.Exampleに変換
次は、整形したデータをtf.train.Exampleオブジェクトの形式にします。
tf.train.Exampleには1次元配列しか保存できないので、画像データをバイナリ化していきます。
cat_image_binary = cat_image_standard.tobytes()
cat_label_binary = cat_label_numpy_onehot.tobytes()
print(cat_image_binary)
TFRecordにnumpy配列を保存すると、1次元配列に変換されてしまいshapeの情報が失われてしまいます。
そのため、画像サイズの情報も一緒に格納しておきましょう。
画像サイズやラベルは「tf.train.Int64List」に格納し、バイナリ化した画像は「tf.train.BytesList」として保存します。
cat_numpy_feature = {
    'label': tf.train.Feature(bytes_list=tf.train.BytesList(value=[cat_label_binary])),
    'image': tf.train.Feature(bytes_list=tf.train.BytesList(value=[cat_image_binary])),
    'height': tf.train.Feature(int64_list=tf.train.Int64List(value=[cat_image_standard.shape[0]])),
    'width': tf.train.Feature(int64_list=tf.train.Int64List(value=[cat_image_standard.shape[1]])),
    'depth': tf.train.Feature(int64_list=tf.train.Int64List(value=[cat_image_standard.shape[2]])),
}

cat_numpy_example = tf.train.Example(features=tf.train.Features(feature=cat_numpy_feature))
cat_numpy_example
同様に犬のデータもtf.train.Exampleオブジェクトの形式にします。
dog_image = io.imread("dog.jpg")
dog_image_standard = (dog_image/255).astype(np.float32)

dog_label = 1
dog_label_numpy = np.array([dog_label]).astype(np.uint8)
dog_label_numpy_onehot = np.eye(2).astype(np.int32)[dog_label_numpy]

dog_image_binary = dog_image_standard.tobytes()
dog_label_binary = dog_label_numpy_onehot.tobytes()


dog_numpy_feature = {
    'label': tf.train.Feature(bytes_list=tf.train.BytesList(value=[dog_label_binary])),
    'image': tf.train.Feature(bytes_list=tf.train.BytesList(value=[dog_image_binary])),
    'height': tf.train.Feature(int64_list=tf.train.Int64List(value=[dog_image_standard.shape[0]])),
    'width': tf.train.Feature(int64_list=tf.train.Int64List(value=[dog_image_standard.shape[1]])),
    'depth': tf.train.Feature(int64_list=tf.train.Int64List(value=[dog_image_standard.shape[2]])),
}

dog_numpy_example = tf.train.Example(features=tf.train.Features(feature=dog_numpy_feature))
TFRecordファイルに書き込み
tf.train.ExampleオブジェクトをTFRecordファイルに書き込んでいきます。
record_file = 'cat_dog_numpy.tfrecords'
with tf.io.TFRecordWriter(record_file) as writer:
    writer.write(cat_numpy_example.SerializeToString())
    writer.write(dog_numpy_example.SerializeToString())
cat_dog_numpy.tfrecordsファイルが作成され、画像データをnumpy配列でTFRecordにすることができました。
作成したTFRecordファイルの読み込み方法はこちらで解説しています。
まとめ
データをnumpy配列の形式でTFRecordファイルを作成する方法を解説しました。
TFRecordを作るには、「データの整形」→「tf.train.Exampleに変換」→「TFRecordファイルに書き込み」の順に行っていきます。
画像をTFRecordに書き込むにはバイナリ化して、tf.train.Exampleオブジェクトに格納する必要があります。
参考文献
コメント